DIY Project: Rope Seating With Existing Frame
Project Level: Beginner/Intermediate
Project Time: 2 Hours
Materials Needed: Rope or Cording. Bench Frame. Scissors. Upholstery Gun. Staples.


The other day while I was thrifting I spotted this sleek rattan frame without a top. I was wondering if I should even purchase it or not because I knew that I would have to get involved in another pricey project. However, I'm too addicted to shopping so I did it anyway. My poor debit card.
I wasn't exactly sure how I was going to repurpose the frame just yet, so I reached out to my trusty instagram followers for some advice. My favorite ideas were getting a glass top made for it (or thrifting one for cheap) for a narrow coffee table, upholstering it with a cushion for a nice end of the bed bench or simply attaching a plank of wood on top for a plant bench.

After scrolling through Pinterest for a few minutes I got inspired by this bench here.
It was the FDB Møbler’s J83B bench, for only $560 (plust $82.45 for USA shipping). I'm all for hacks, especially when it comes to budget. With this as my guide and inspiration, I went to the nearest Michael's to get my rope. Now you can get any old rope from your local hardware store, like Lowe's. I specifically wanted a light thin rope to continue the sleek look, while adding to the nature element that the bench already had.
Materials

Here's what you'll need to create your own rope bench if you already have a frame:
Handheld Upholstery Gun & Staples - I already had a few Upholstery Guns from other projects and used D-Type Staples for this project. You can also use upholstery tacks with a hammer.
Scissors - Your kitchen scissors should be able to cut the rope just fine, too.
Rope - I used cotton cording because it had less fraying for a cleaner look. It took me less than 7 spools of the 23.6yds. My bench measures 43.75" W x 13.5" D, so before you get started measure your surface area to give you the best idea of how many spools to get. Keep in mind that you will need to create a layer for extra support, so add a spool for that.
*I suggest not buying online because the rope colors may differ. Check my mistake below.*
Getting Started

Step 1.
First you want to sit your frame on a level and clean workspace. You will need room to spread your rope out and toss it back and forth throughout this project.
Go ahead and unroll your first spool. We are going to create the support layer.

Step 2.
This is where the staple gun comes in to play. Take your first strand of the unrolled rope and staple it to a corner of your surface. Make sure it is secure enough, because we are going to be pulling this rope tight.

Step 3.
Run your rope to the other end of the bench and repeat the stapling process. At this point your frame should have a single line of rope stapled to it. Do not cut your rope.

Step 4.
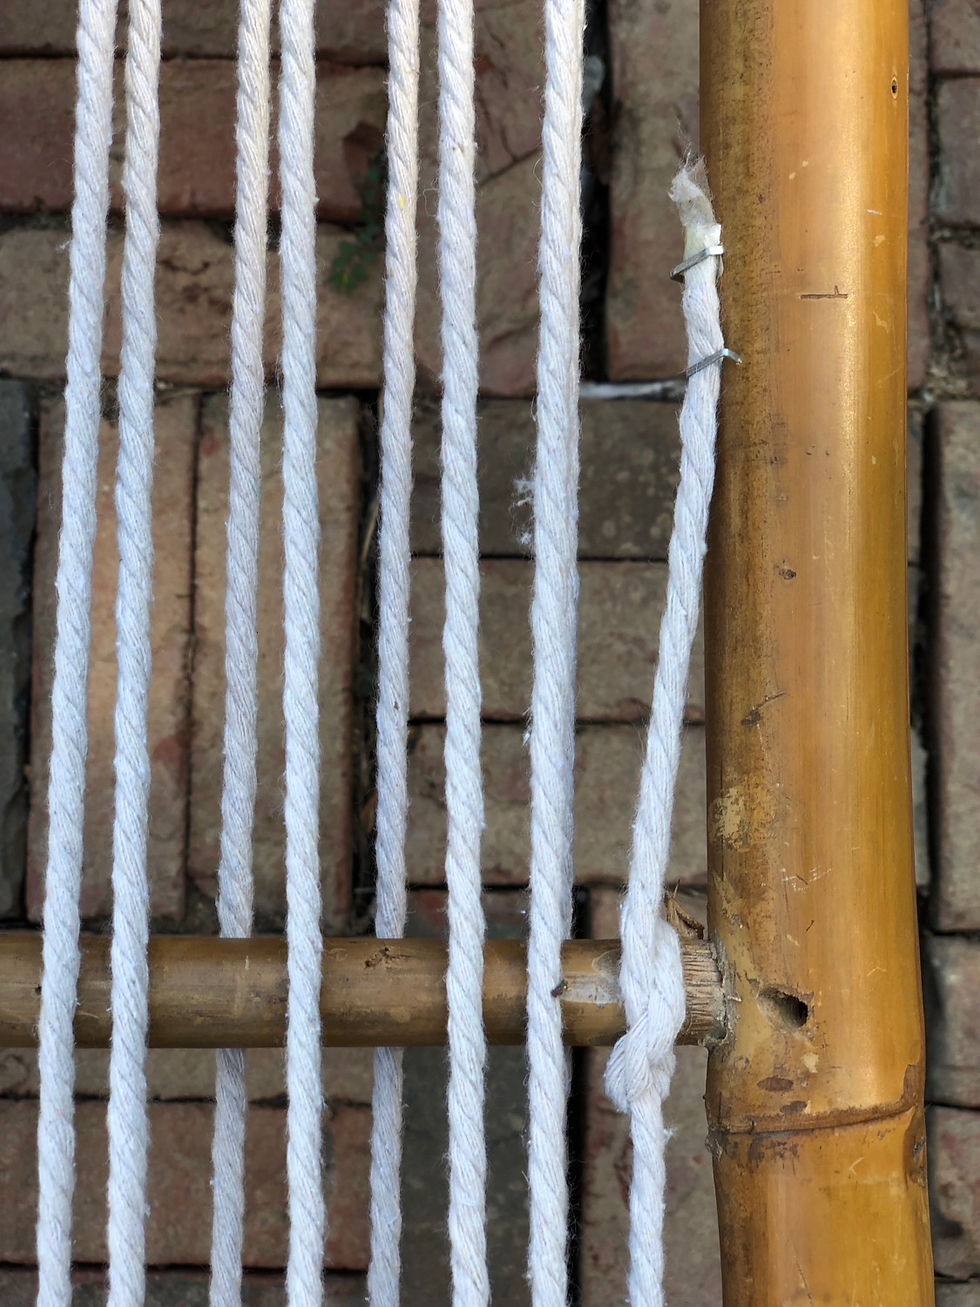
With your rope, you are going to create a weaving layer. If you have a support beam in your frame use it to create an over-under pattern. If you don't it is okay. Make sure that when you are pulling your rope that you are making it tight. Once you have completed this step for the whole frame cut any excess off. Tie a knot with the end of the string to one of the woven strands or frame. For extra measures you can staple your end piece to the frame again - like I did below.


Step 5.
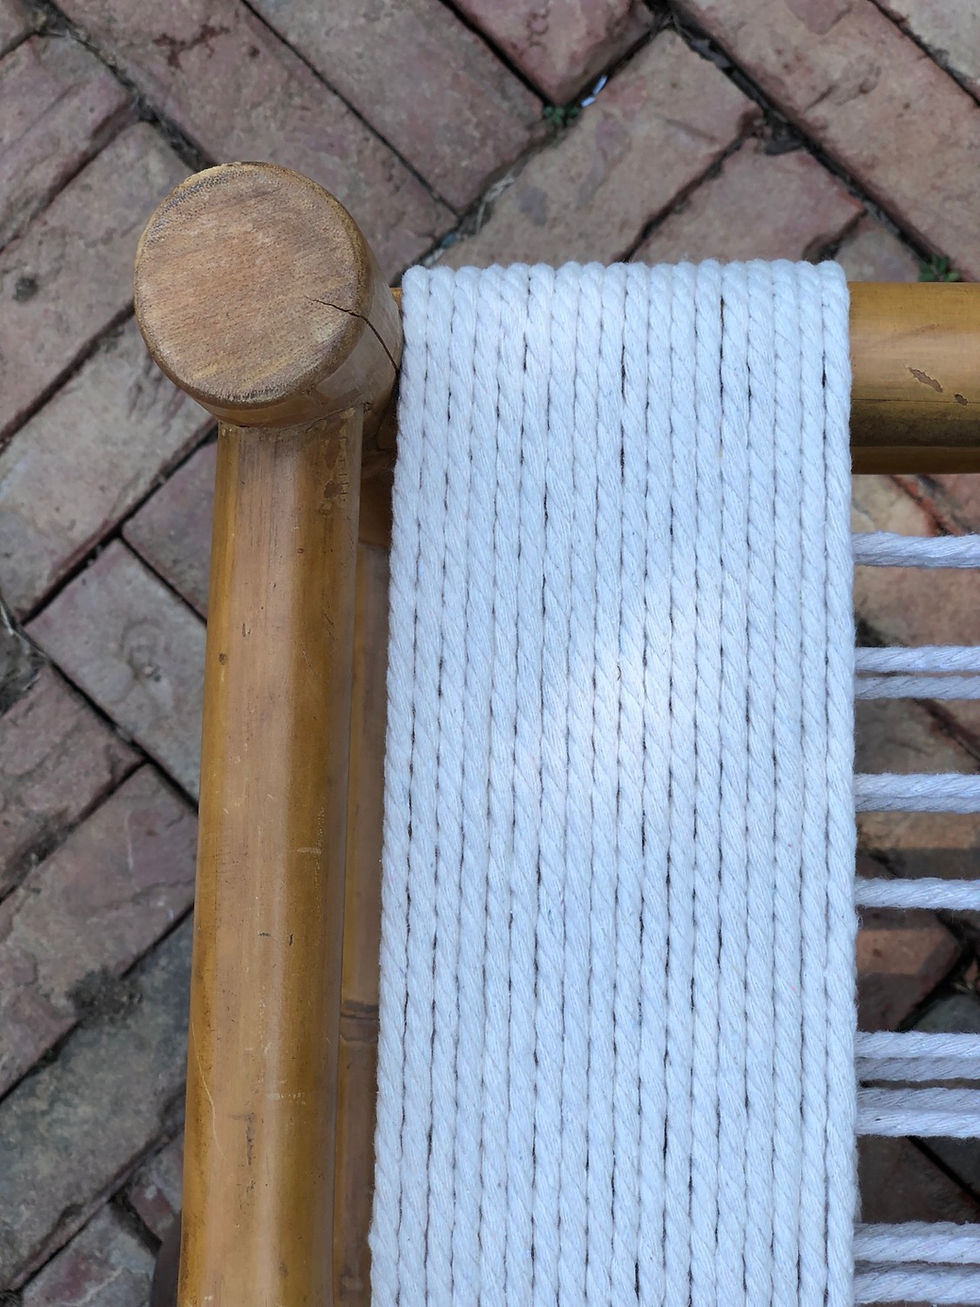
Unroll a new spool. Staple an end inside the corner of the frame going the opposite direction than your previous layer. Then wrap your rope around the outside of the frame. Remember to pull tight. Repeat until you've run out of rope on the spool. Tie the end to a strand of the support layer. Slide the knot under your work.

Step 6.
Unroll a new spool.
Use your weaving support layer to tie a knot with the new rope. I suggest in the middle. Slide the knot under the previous rope pattern to create a neat and tight start. You want to be able to create a seamless finish.
After you have your knot, take your rope under the frame and wrap it like you did in the step above. Continue this step until you've reached the end of your frame.

Step 7.
Once you have wrapped your frame completely, cut any excess rope off and save for another project.
Staple the end of the rope inside the frame and tuck the remainder of your rope between your layers so that it has a nice finish.
That's all! We're finished and you can now enjoy your new sturdy seat!

Here is my completed bench. My bench had decorative posts between the frame and I simply wrapped around them and pulled tight. No biggie. Now if you want to protect the color of the rope then you can spray a protector on it like Scotchgard Fabric Protector.
My Mistakes

This project wasn't the easiest ones for me due to the time and discoloration of the ropes. I purchased only 3 spools at first and thought I had correctly color matched them in the store. I started the project and realized my last spool had a purple hue to it. I was going to make do with it and create a striped pattern in my bench, but couldn't do it. I really envisioned a nice crisp color. It would be awesome with a pattern, just not my goal.
I went back to the store purchased the remainder of the rope that I needed and color matched it again. Headed home. Undid everything that I did just so I could have that nice clean look. Redid my bench and got to the end and realized that again my rope was discolored. This rope wasn't named anything special, just natural finishes that may differ from lot to lot. The harsh fluorescent lighting in Michael's was making the colors appear the same.
Tip:
*Lighting plays an important role when selecting furniture, fabrics, paint colors, flooring and rugs. It's best to bring a sample into natural light, i.e. outside, or if you know the item will be in a low lit room take it to an area that's dim, maybe with a lamp.*

I was still able to create the look that I was going for, because at least this time the rope wasn't as noticeably different. You can still notice it from a certain angle or if you're looking for it, but keep in mind you made it and it's unique. Nothing is perfect, so why should that be.

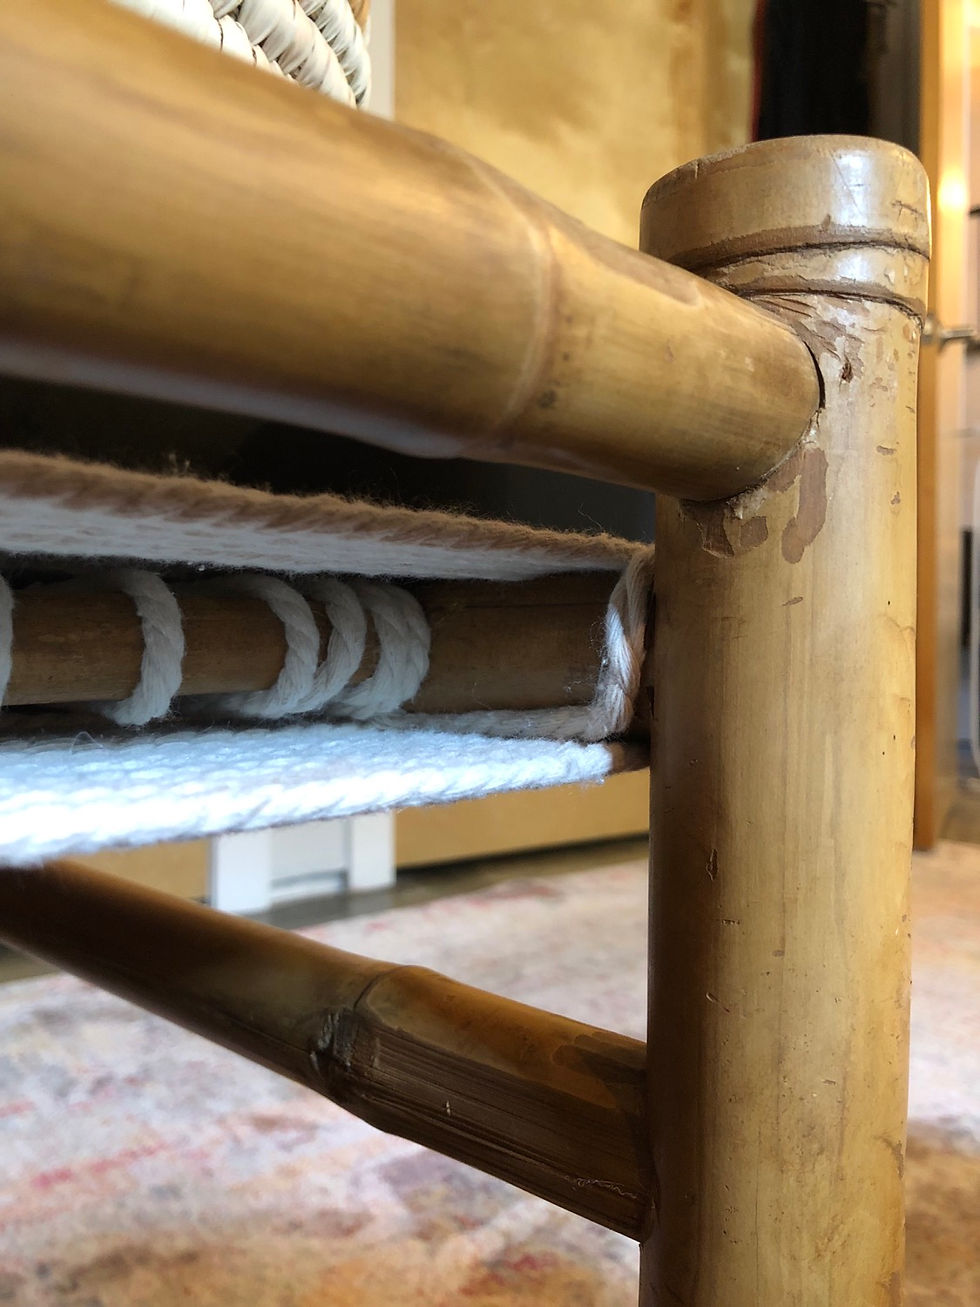
My favorite thing about this project is that I was able to save a piece of furniture from being tossed out and created something simple and beautiful without spending money on a mass produced piece. It's an eco-friendly one of a kind piece! I love how the end of my bench shows a more deconstructed view.
$560 vs. Thrifted & DIY
How'd I do? I hope this helps you on your own DIY rope project. Share your project with me by tagging @nouveaucentral on instagram. I would love to see how it turned out! I'm here to help. Sound off in the comments below!
Thanks for reading.
Until next time.
xx
Cameron


Comments